Using a channel’s Test feature, you can verify how data is processed by that channel and its downstream Flux app components.
-
Open the Studio tab of the Flux app.
-
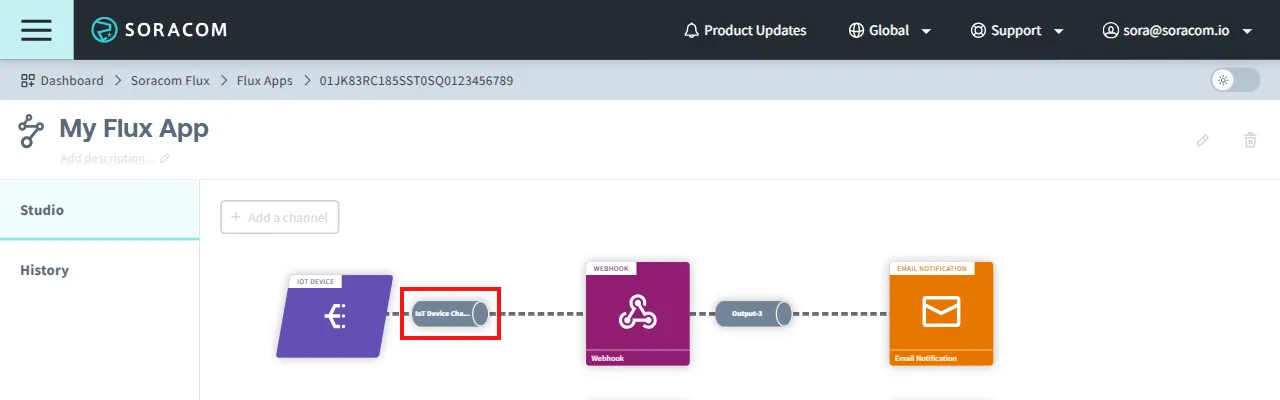
Click the channel you want to test.
For example:
-
Select the Test tab and enter your test data in the HTTP Body in JSON if applicable. If your test doesn't require any inputs, enter
{}as an empty payload.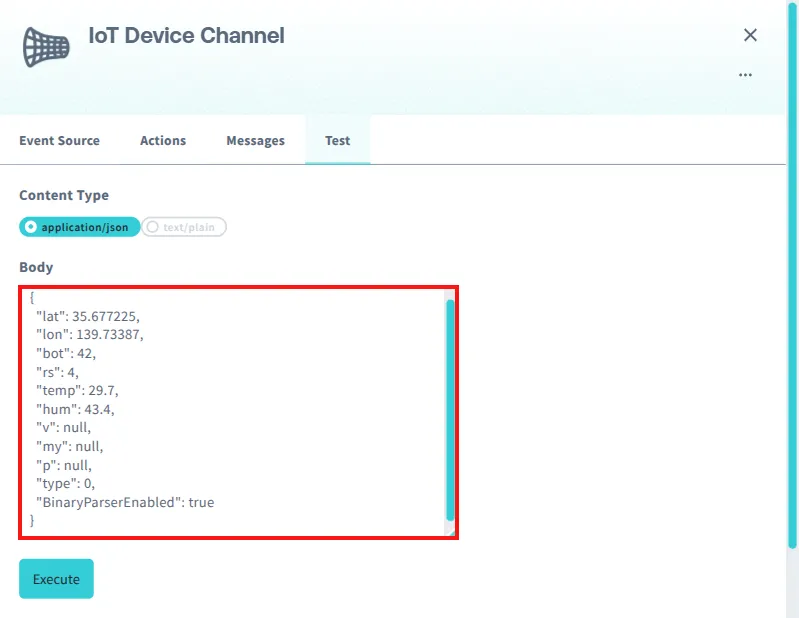
-
If you want to override the context for the test, select the Specify the context for message (context override) checkbox and enter the context as JSON in Context Override (JSON).
This overrides the values of
context.*andevent.context.*that are referenced in Action Condition and other input fields. For the syntax, see Use Expressions in Actions.By providing values in the same shape an event source would send, you can test-run the channel as if the message came from that event source. The following example imitates the Context of the IoT Device event source. For the Context each event source sends, see IoT Device Event Source.
{ "eventType": "device" } -
Click Execute to run the test and display results.
You can also view the channel’s execution history, including tests run in the Test tab, in the Messages tab. For more information on viewing log history for Flux apps, channels, and actions, see View Logs.